







Installing a wall-mounted toilet requires more planning than installing a conventional toilet. The mounting frame, concealed cistern, drainage system, wall structure, and toilet height must all be properly positioned before the wall is closed. This guide explains how to install a wall-mounted toilet step by step and highlights the most important points to check during installation.
What Is a Wall-Mounted Toilet?
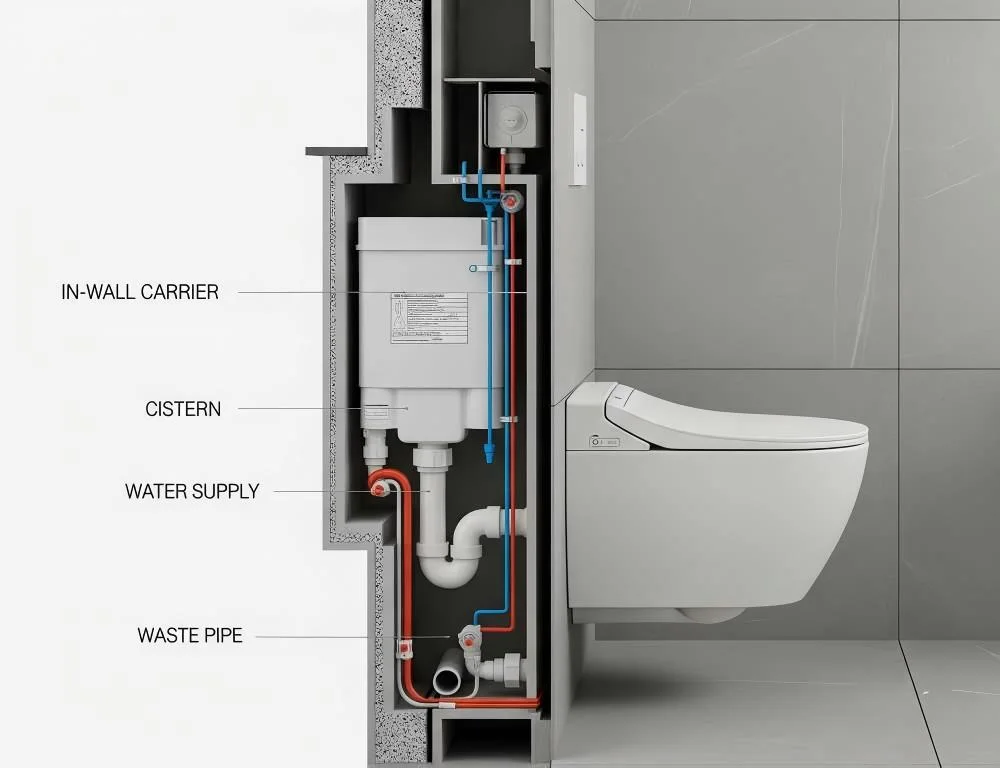
A wall-mounted toilet is a type of toilet that is fixed to a reinforced mounting frame inside or behind the bathroom wall. The toilet bowl does not sit directly on the floor. Instead, the mounting frame supports the bowl and transfers its load to the floor and structural wall.
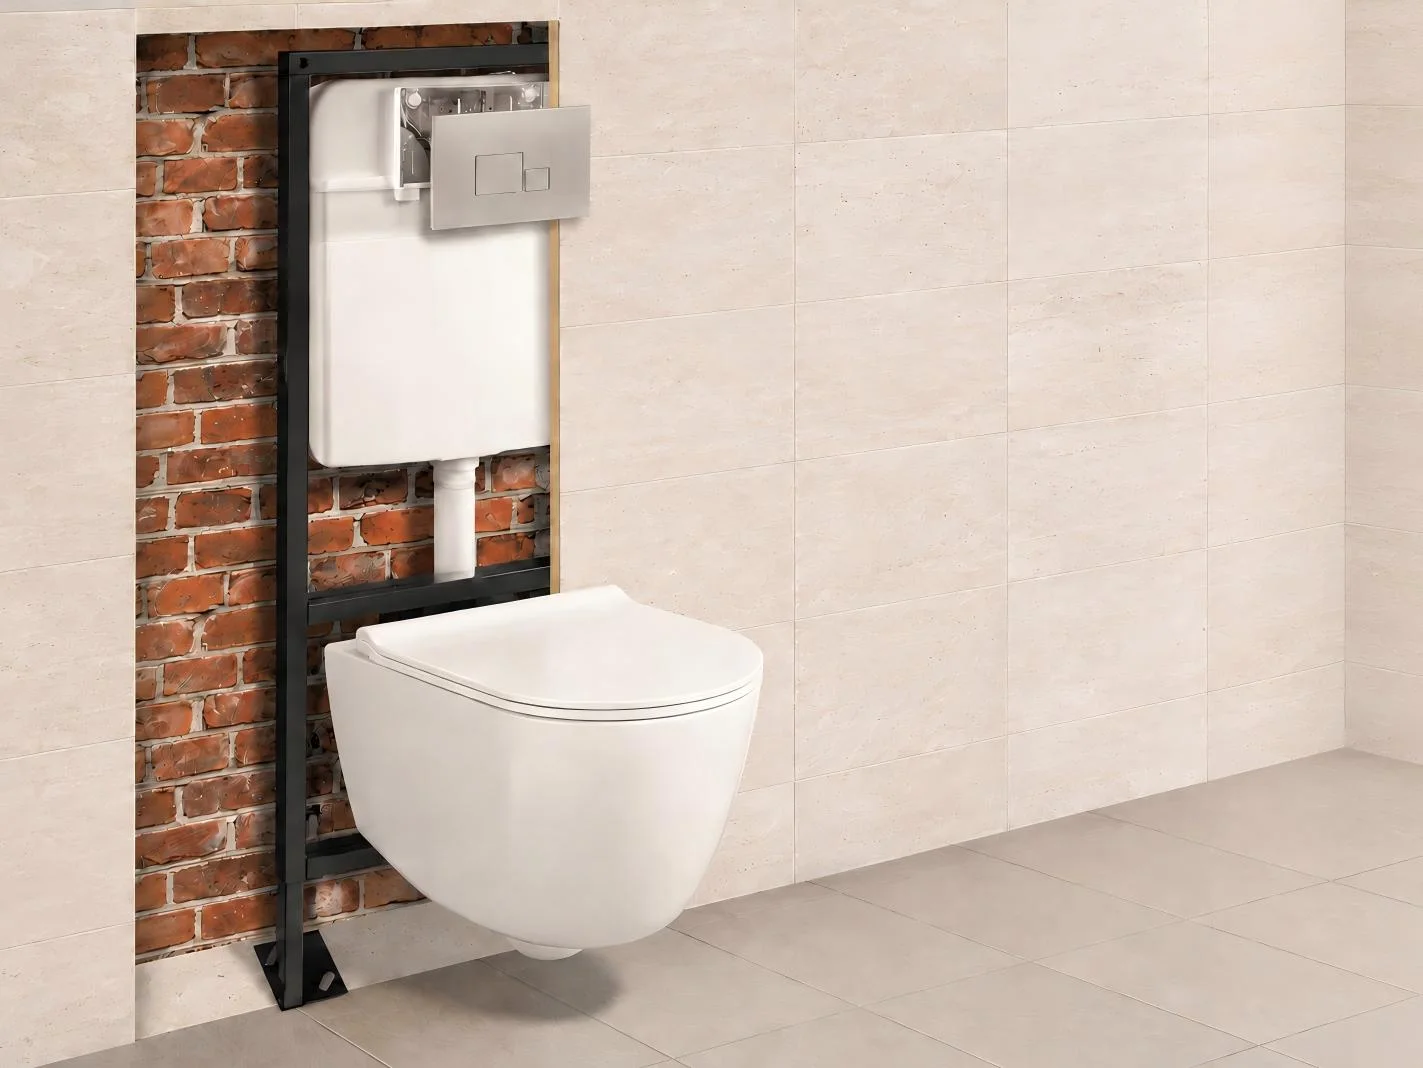
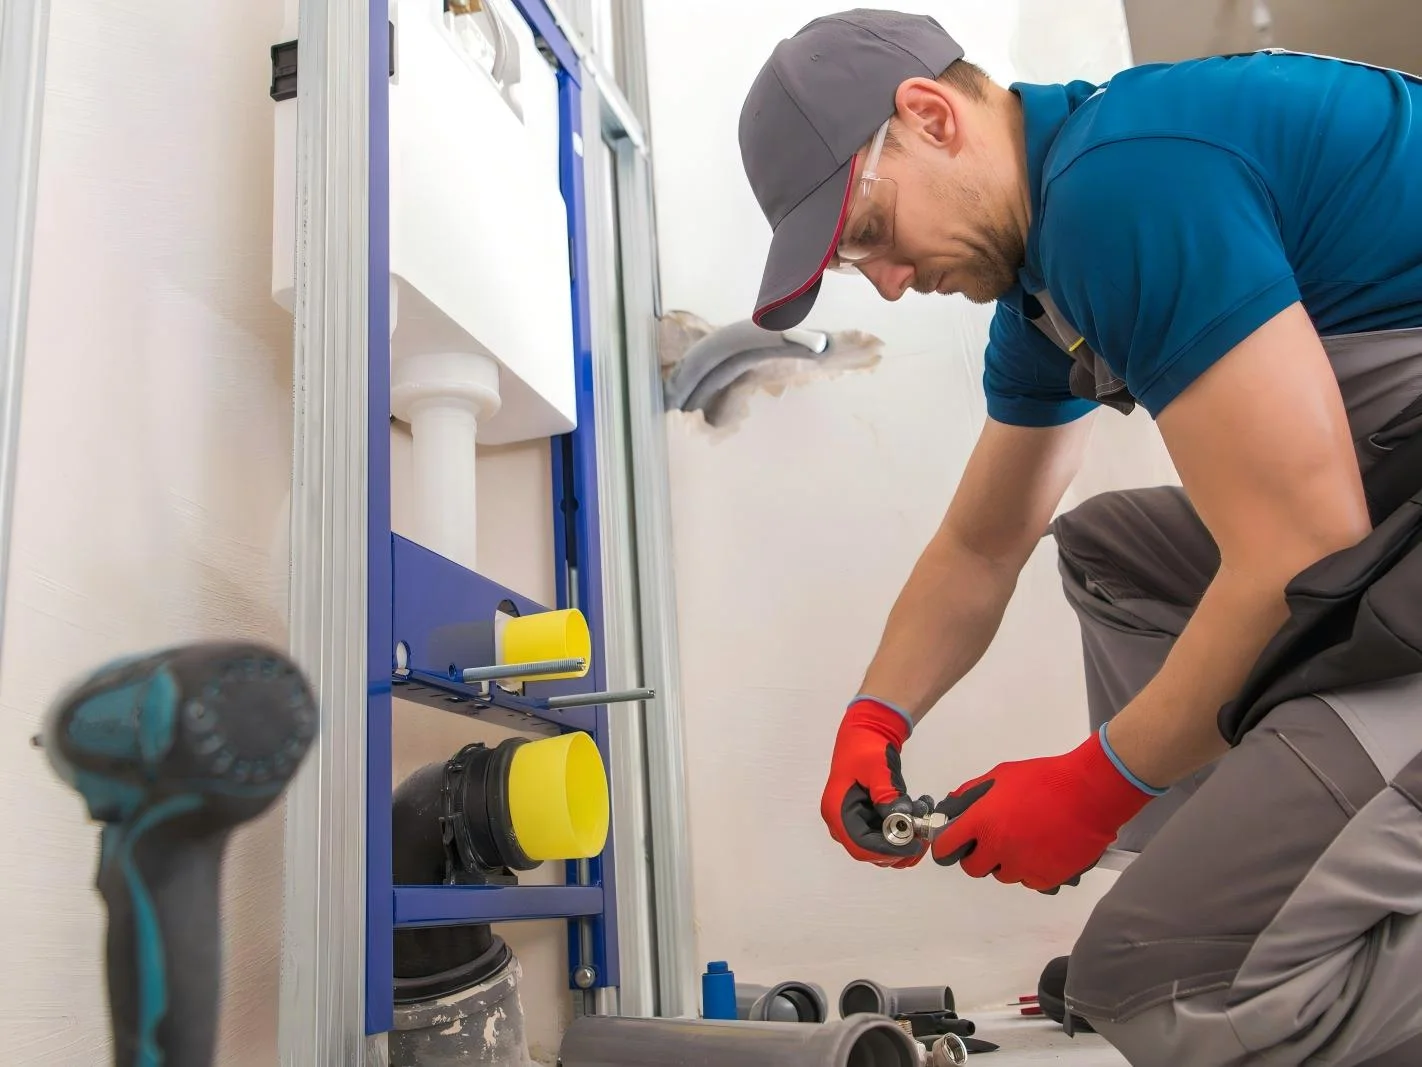
A typical wall-mounted toilet system consists of four main components: a wall carrier frame, a concealed cistern, a flush plate, and the wall-mounted toilet bowl. The frame provides structural support, while the concealed cistern controls the flushing system.
What You Need Before Installing a Wall-Mounted Toilet
Before starting the installation, prepare the necessary tools and components. Having everything ready can prevent unnecessary delays during the installation process.
Tools
Common tools include:
- Measuring tape
- Spirit level
- Electric drill
- Screwdriver
- Adjustable wrench
- Socket wrench
- Pipe cutter
- Silicone sealant
- Pencil or marker
Main Components
You will also need the complete wall-mounted toilet installation system, including:
- Wall carrier frame
- Concealed cistern
- Flush mechanism
- Flush plate
- Waste outlet connection
- Ligação à rede de abastecimento de água
- Mounting bolts
- Wall-mounted toilet bowl
- Sealing components
Check the Installation Location
Before installing the frame, carefully check the bathroom layout. The location of the toilet should provide enough space for comfortable use and allow the waste pipe and water supply to be connected correctly.
The wall behind the toilet is particularly important. A wall-mounted toilet requires a properly secured carrier frame, so the installation structure must be strong enough to support the toilet and the expected user load.
You should also determine the final toilet height before fixing the frame. The desired height can vary depending on the bathroom design and user requirements.
Step 1 – Install the Wall-Mounting Frame
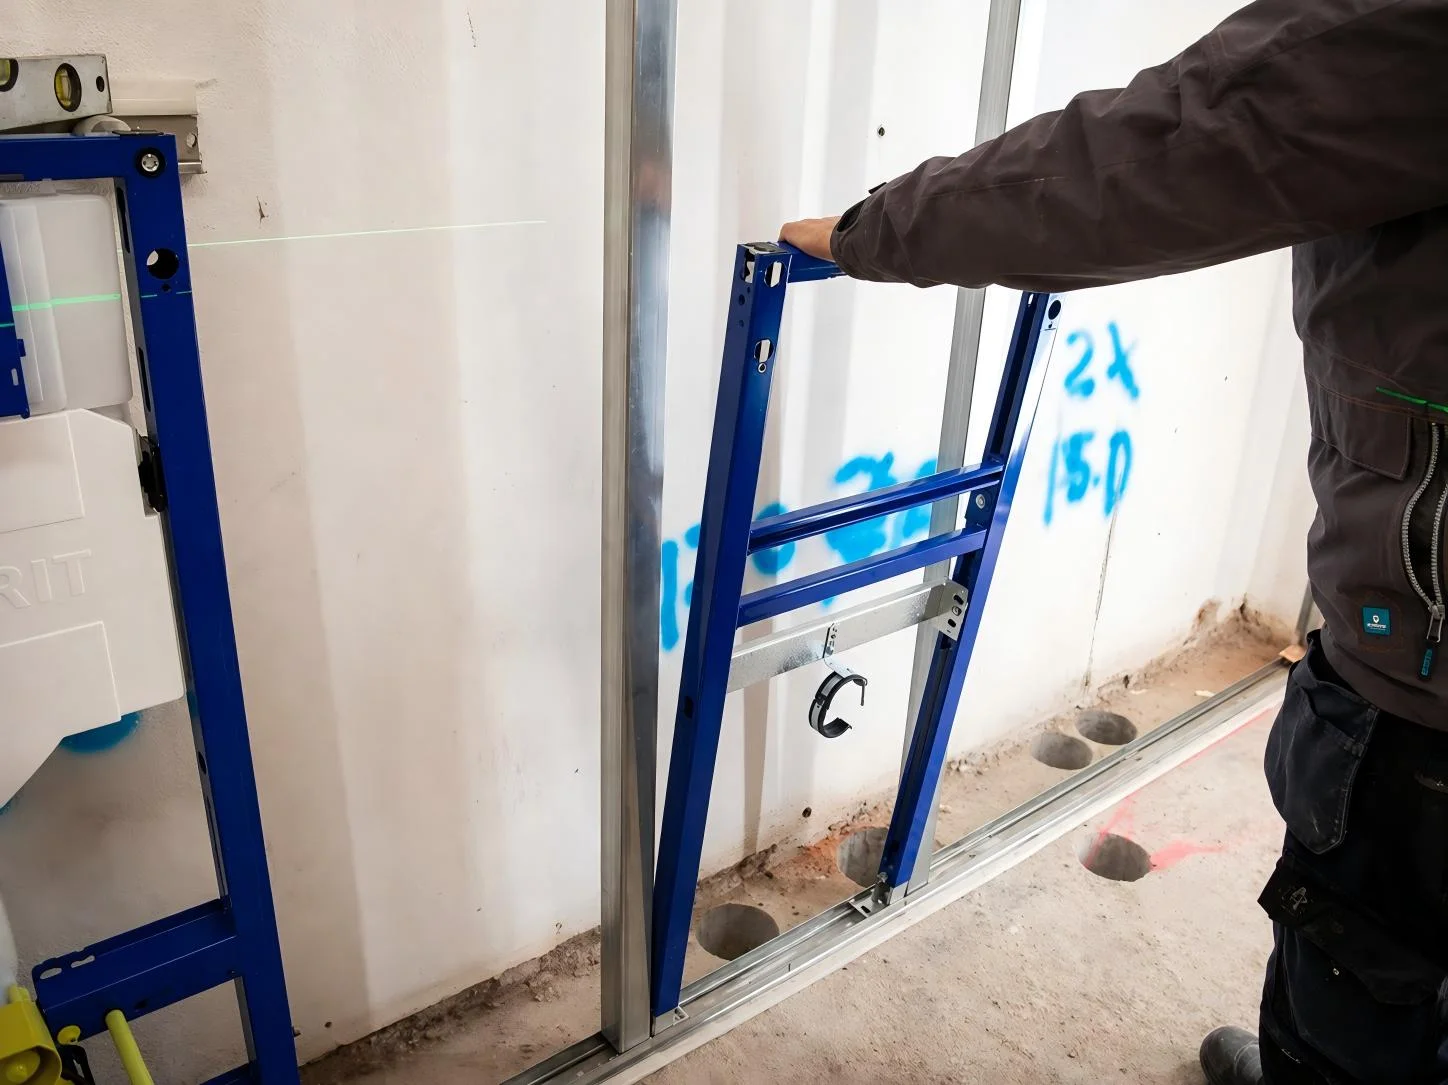
The mounting frame is the most important structural component of a wall-mounted toilet. Start by positioning the frame according to the manufacturer’s installation dimensions.
Use a measuring tape and spirit level to make sure the frame is correctly aligned. Adjust the frame legs to achieve the required height, then mark the fixing points on the floor and wall.
Drill the required holes and secure the frame using suitable fixing hardware. The exact fixing method should follow the installation instructions supplied with the carrier system.
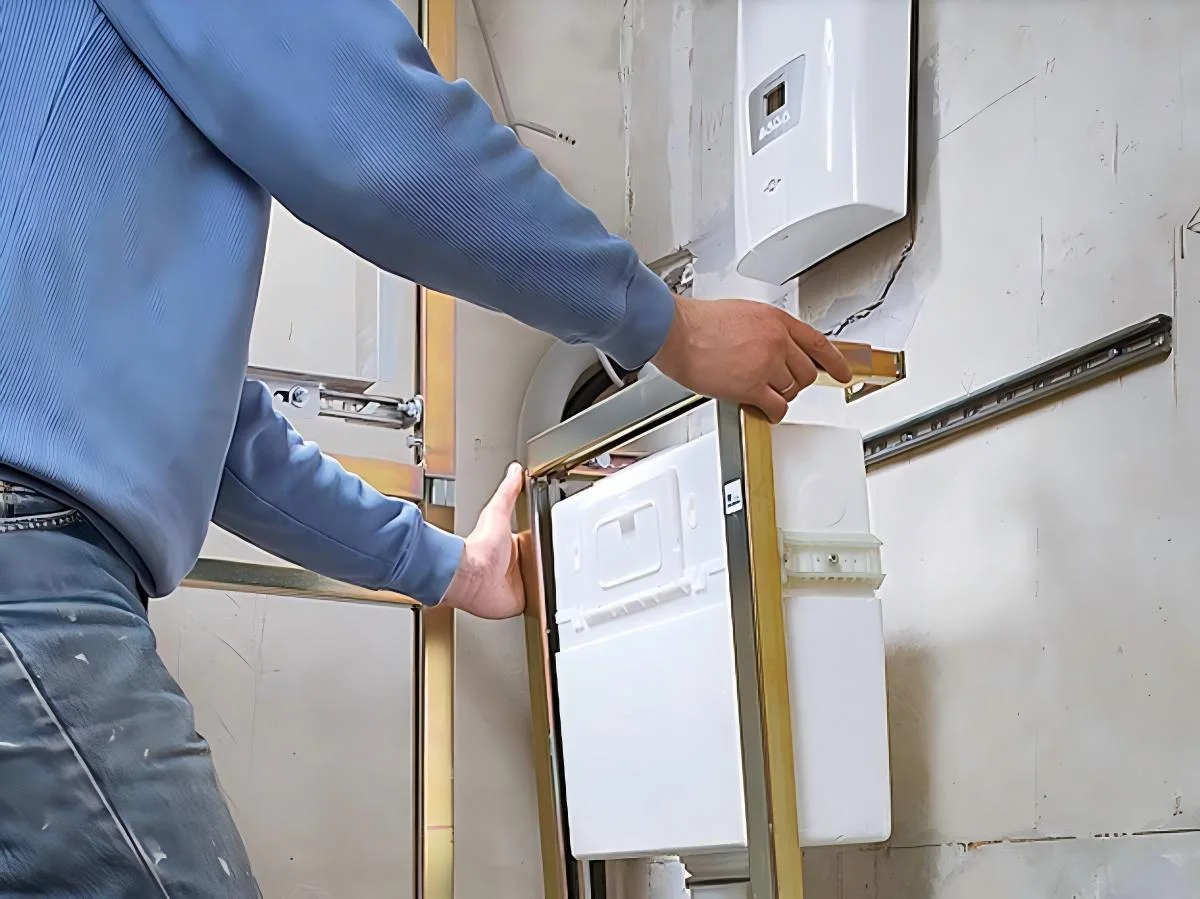
Step 2 – Install the Concealed Cistern
Once the frame is securely positioned, install the concealed cistern according to the system design. Connect the water supply to the inlet connection and make sure the connection is properly sealed.
The internal flushing mechanism should be installed and adjusted according to the manufacturer’s instructions. Before closing the wall, it is important to check that the cistern can fill correctly and that there are no visible leaks.
Step 3 – Connect the Drainage System
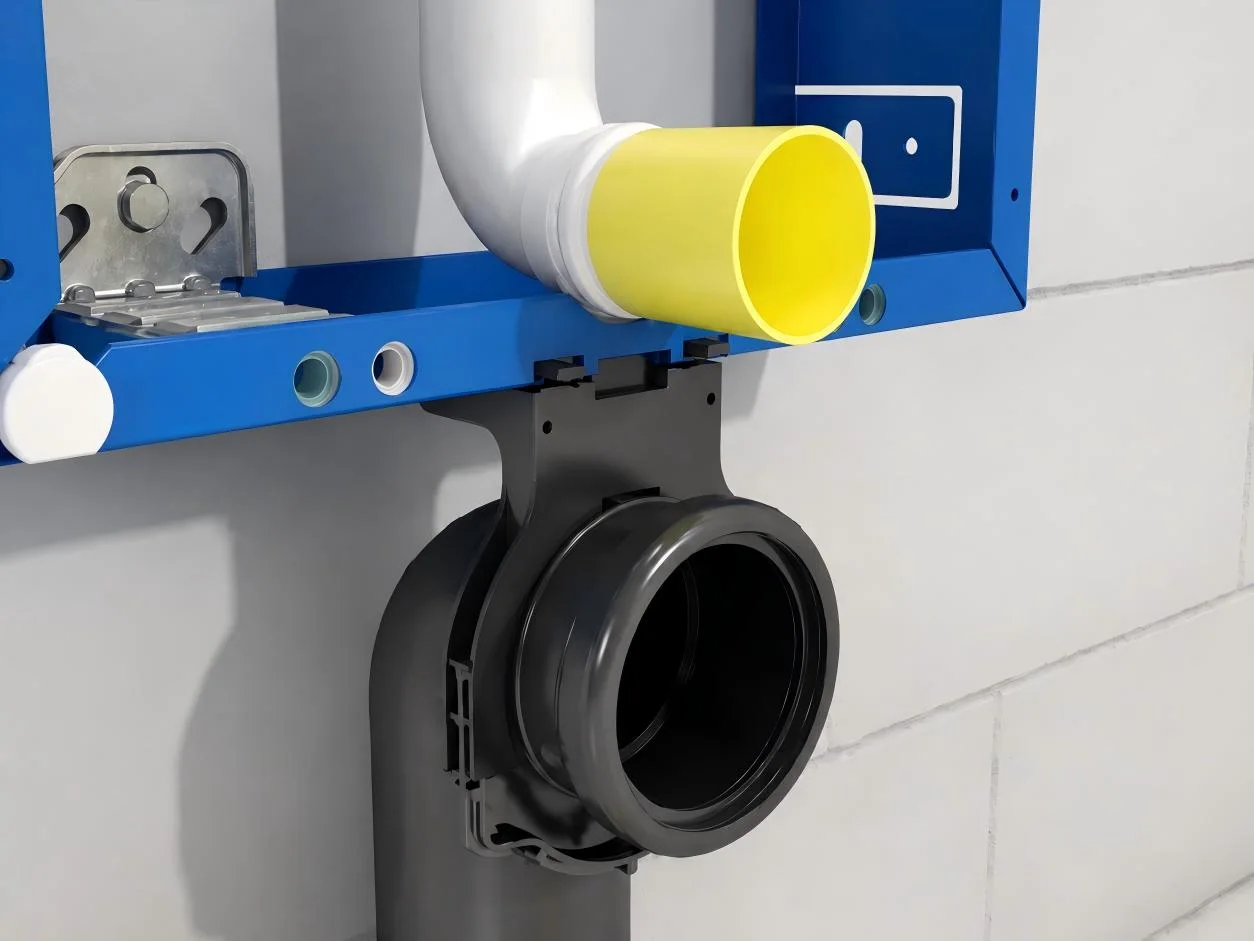
Next, connect the toilet waste outlet to the building’s drainage system. Make sure the waste pipe is correctly positioned in relation to the toilet bowl and that all connections are properly sealed.
Poorly aligned drainage connections can cause leaks, unpleasant odors, or poor drainage performance. Therefore, measure the pipe position carefully before the wall is closed.
Step 4 – Secure the Frame to the Wall and Floor
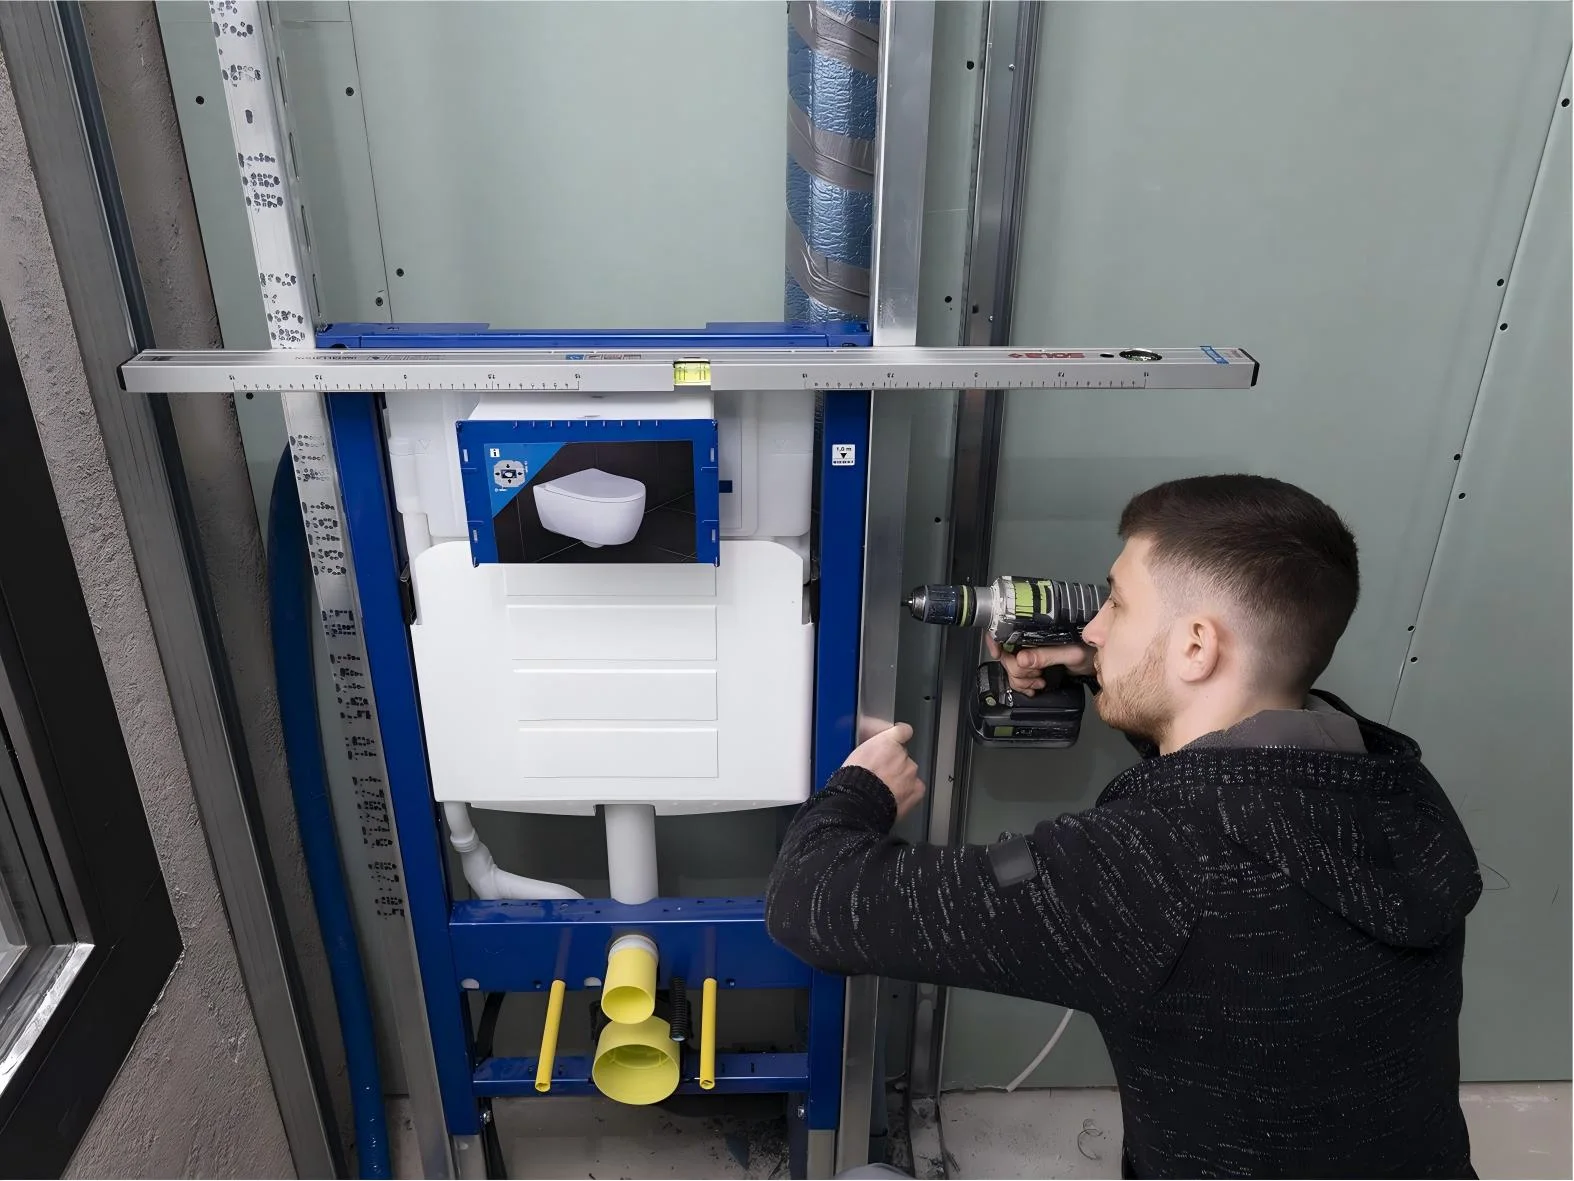
After positioning the drainage and water connections, make a final check of the carrier frame. It should be level, vertical, and firmly attached to the appropriate structural surfaces.
The frame must not move or wobble. Since the toilet bowl is suspended from the frame, insufficient fixing can eventually result in movement, damage, or failure of the installation.
Step 5 – Test the Water Supply and Drainage System
Before closing the wall, it is essential to test both the water supply and drainage systems. This step helps identify leaks, loose connections, or drainage problems while all the concealed components are still accessible.
Slowly turn on the water supply and allow the concealed cistern to fill. Check the inlet connection, cistern connections, and surrounding pipe joints for any signs of leakage. If you notice water dripping or moisture around a connection, turn off the water supply and correct the problem before continuing.
Next, perform a drainage test. Pour an appropriate amount of water into the drainage system or operate the flushing mechanism if the system is already connected. Check whether the water flows smoothly through the waste pipe and confirm that there are no leaks around the drainage connections.
It is important to complete this test before the wall is covered. Once the frame and concealed cistern are enclosed behind the finished wall, repairing a hidden leak or incorrectly positioned drainage connection can require removing wall panels or tiles.
Only proceed to the next step after confirming that the water supply, flushing mechanism, and drainage connections are working properly and remain leak-free.
Step 6 – Build the Wall Around the Frame
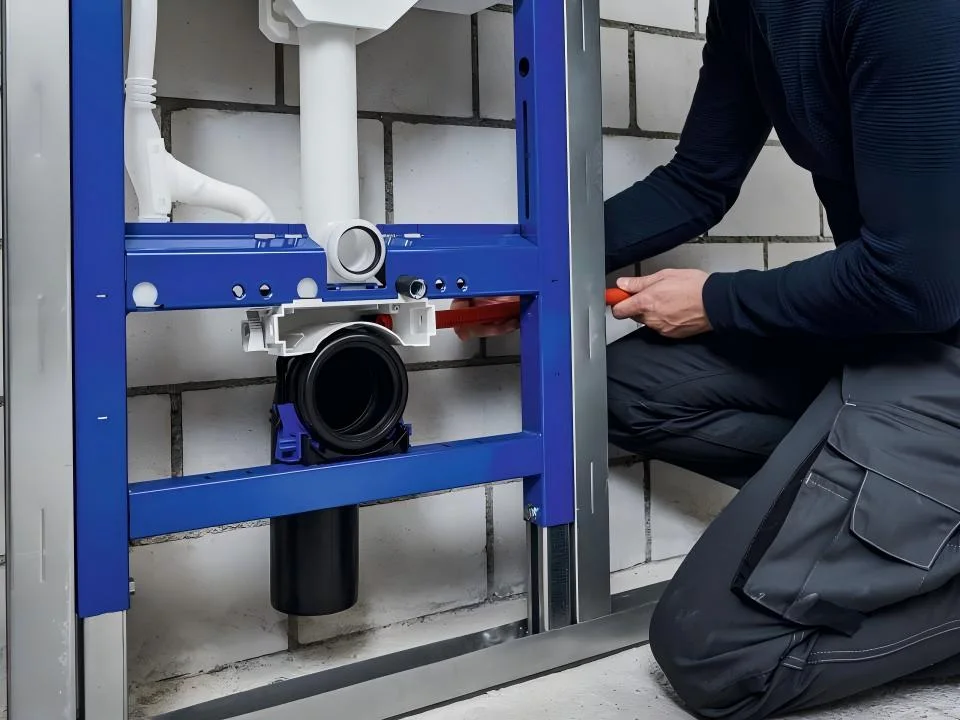
Once all concealed components have been installed and tested, the wall can be closed. Moisture-resistant board or another suitable wall material is commonly used depending on the bathroom construction method.
Remember to leave the required openings for the flush plate, toilet connections, and other service components. Do not permanently close areas that need to remain accessible for future maintenance.
This is one of the most important advantages of a properly designed concealed system: essential components can remain accessible through the flush plate opening for maintenance.
Step 7 – Install the Wall-Mounted Toilet Bowl
After the finished wall surface is completed, prepare the toilet bowl for installation. Check the connection points and install the required sealing components.
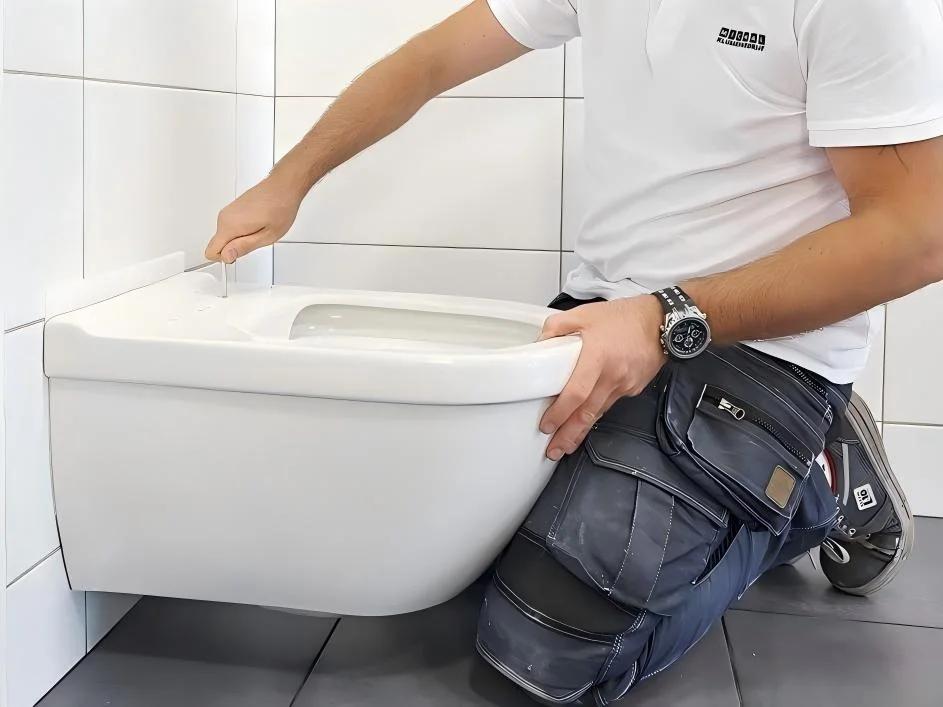
Carefully position the toilet bowl onto the mounting bolts and connect the water inlet and waste outlet. Avoid forcing the connections into place, as incorrect alignment can damage the seals or pipes.
Once the bowl is correctly positioned, tighten the mounting nuts according to the manufacturer’s instructions. Use a spirit level to check that the toilet is perfectly horizontal.
Step 8 – Install the Flush Plate
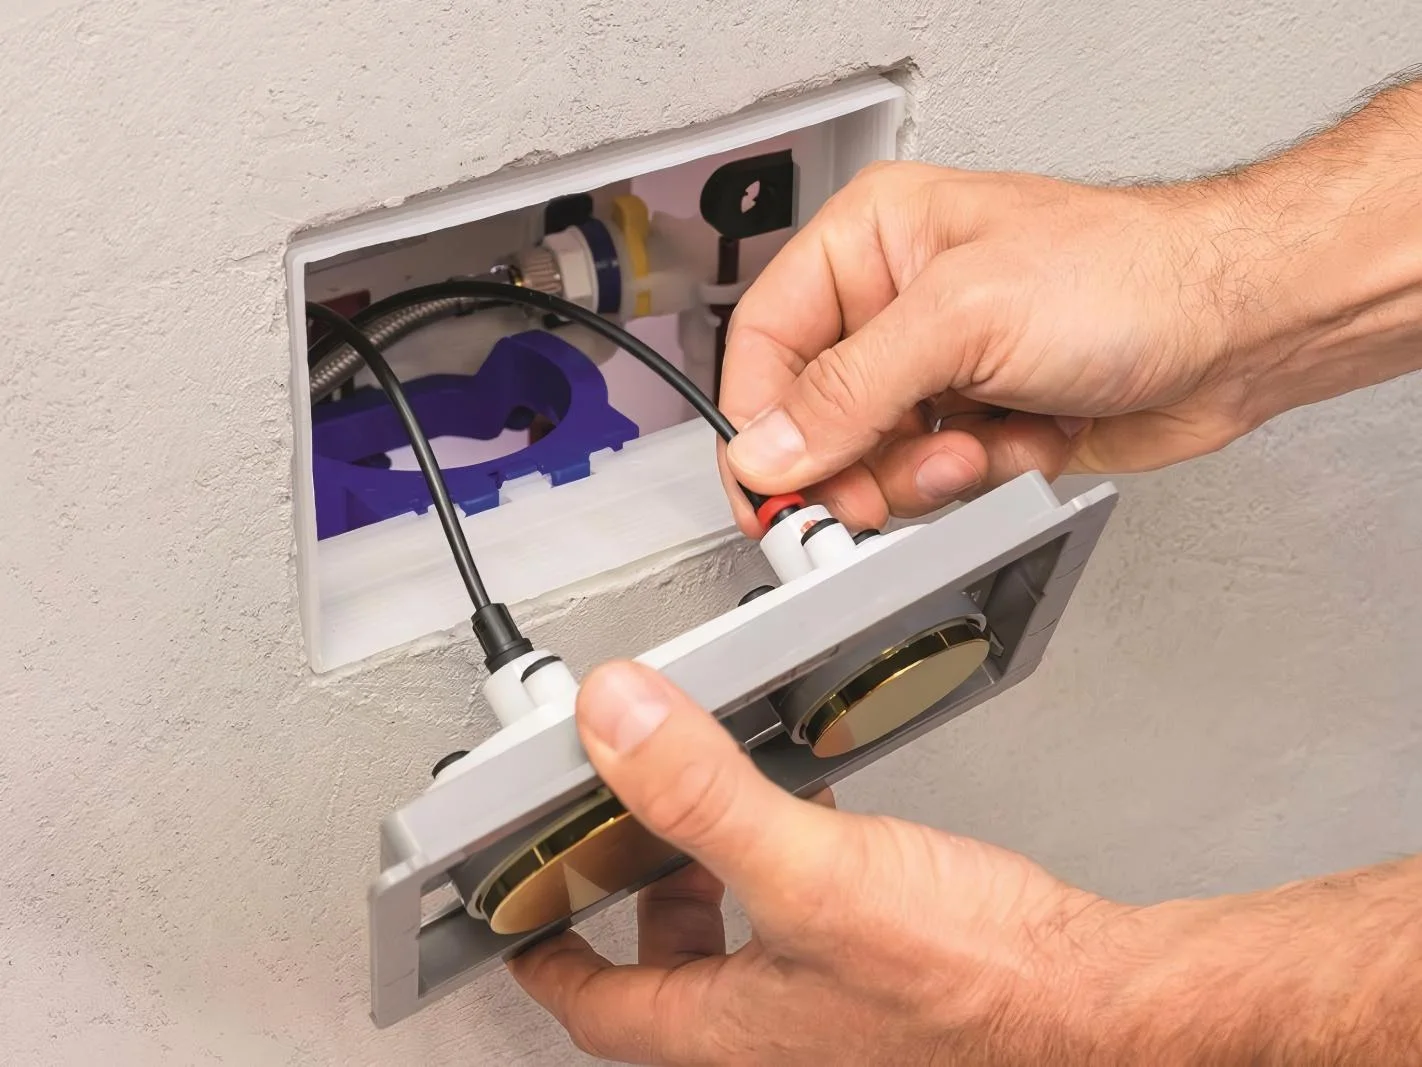
The flush plate is normally installed after the wall surface and toilet bowl are completed. Connect the flush mechanism according to the system design and carefully install the flush plate.
Many modern systems provide dual-flush functions, allowing users to select different water volumes depending on the type of flush required.
Step 9 – Connect the Water Supply and Test the Toilet
Turn on the water supply slowly and allow the concealed cistern to fill. Check all accessible connections for signs of leakage.
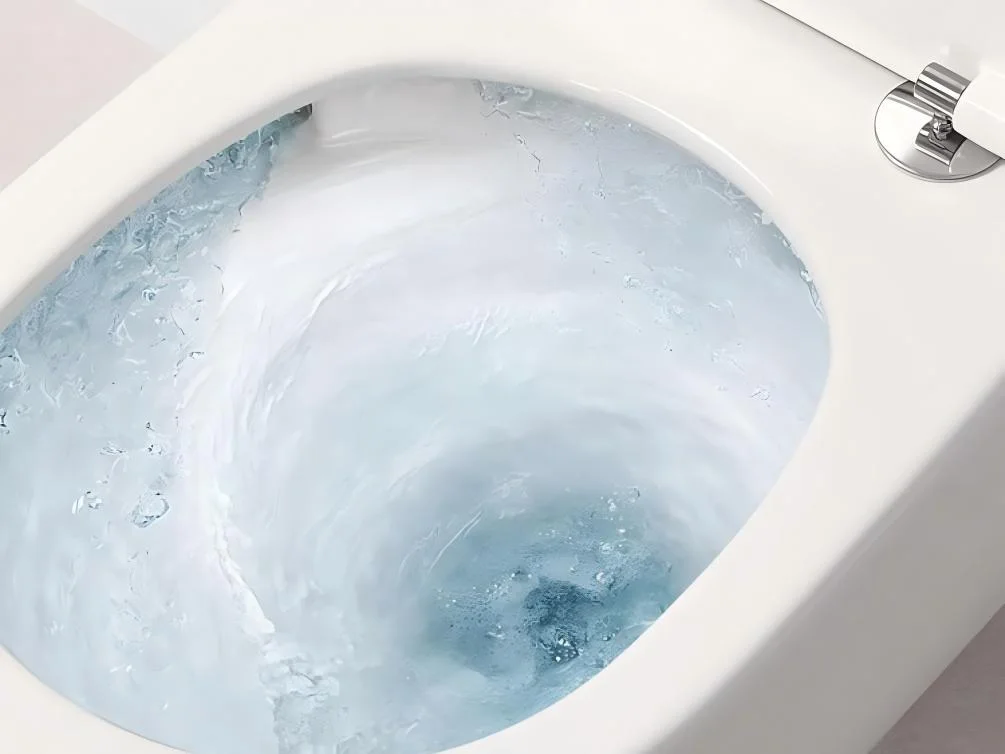
Flush the toilet several times and observe the water flow. Check whether the bowl drains properly and whether the flushing system operates smoothly.
It is strongly recommended to complete all water and drainage tests before permanently closing the wall. Fixing a hidden leak after the wall has been finished can be much more difficult and expensive.
What Is the Recommended Height for a Wall-Mounted Toilet?
The installation height of a wall-mounted toilet can be adjusted according to the bathroom layout and user preferences. A common reference point is the finished floor to the top of the toilet seat, but the exact dimension depends on the toilet design and carrier frame.
For residential bathrooms, a standard height is often suitable for most users. Higher installations may be preferred in some accessible or comfort-height applications. Always follow the dimensions specified by the toilet and carrier system manufacturer.
Common Wall-Mounted Toilet Installation Mistakes to Avoid
Several installation mistakes can affect the performance and durability of a wall-mounted toilet.
I. Poor Frame Fixing
A loose carrier frame can cause the toilet to move during use. Make sure all fixing points are properly secured before closing the wall.
II. Incorrect Toilet Height
Installing the frame at the wrong height can make the finished toilet uncomfortable to use. Measure carefully before fixing the frame permanently.
III. Poor Drainage Alignment
Incorrect waste pipe positioning can create drainage problems or leaks. Confirm the outlet dimensions before installing the toilet bowl.
IV. Closing the Wall Without Testing
Never close the wall before testing the water supply, flushing mechanism, and drainage system.
V. Not Leaving Access for Maintenance
A concealed cistern still needs maintenance from time to time. Make sure the flush plate or designated service opening provides sufficient access to the internal components.
How to Maintain a Wall-Mounted Toilet
Once installed correctly, a wall-mounted toilet is relatively easy to maintain. Clean the ceramic surface regularly using suitable bathroom cleaning products and avoid abrasive materials that could damage the finish.
The flush plate should also be kept clean and checked periodically. If the toilet continues running after flushing or the flush button becomes difficult to operate, the internal flushing mechanism may require adjustment or maintenance.
When Should You Hire a Professional?
Installing a wall-mounted toilet involves plumbing, drainage, structural fixing, and wall construction. If the installation requires major changes to existing drainage pipes or bathroom walls, professional installation is recommended.
For new bathroom construction or commercial projects, it is also important to coordinate the toilet installation with the overall plumbing and building plan.
Choosing a Reliable Wall-Mounted Toilet Manufacturer
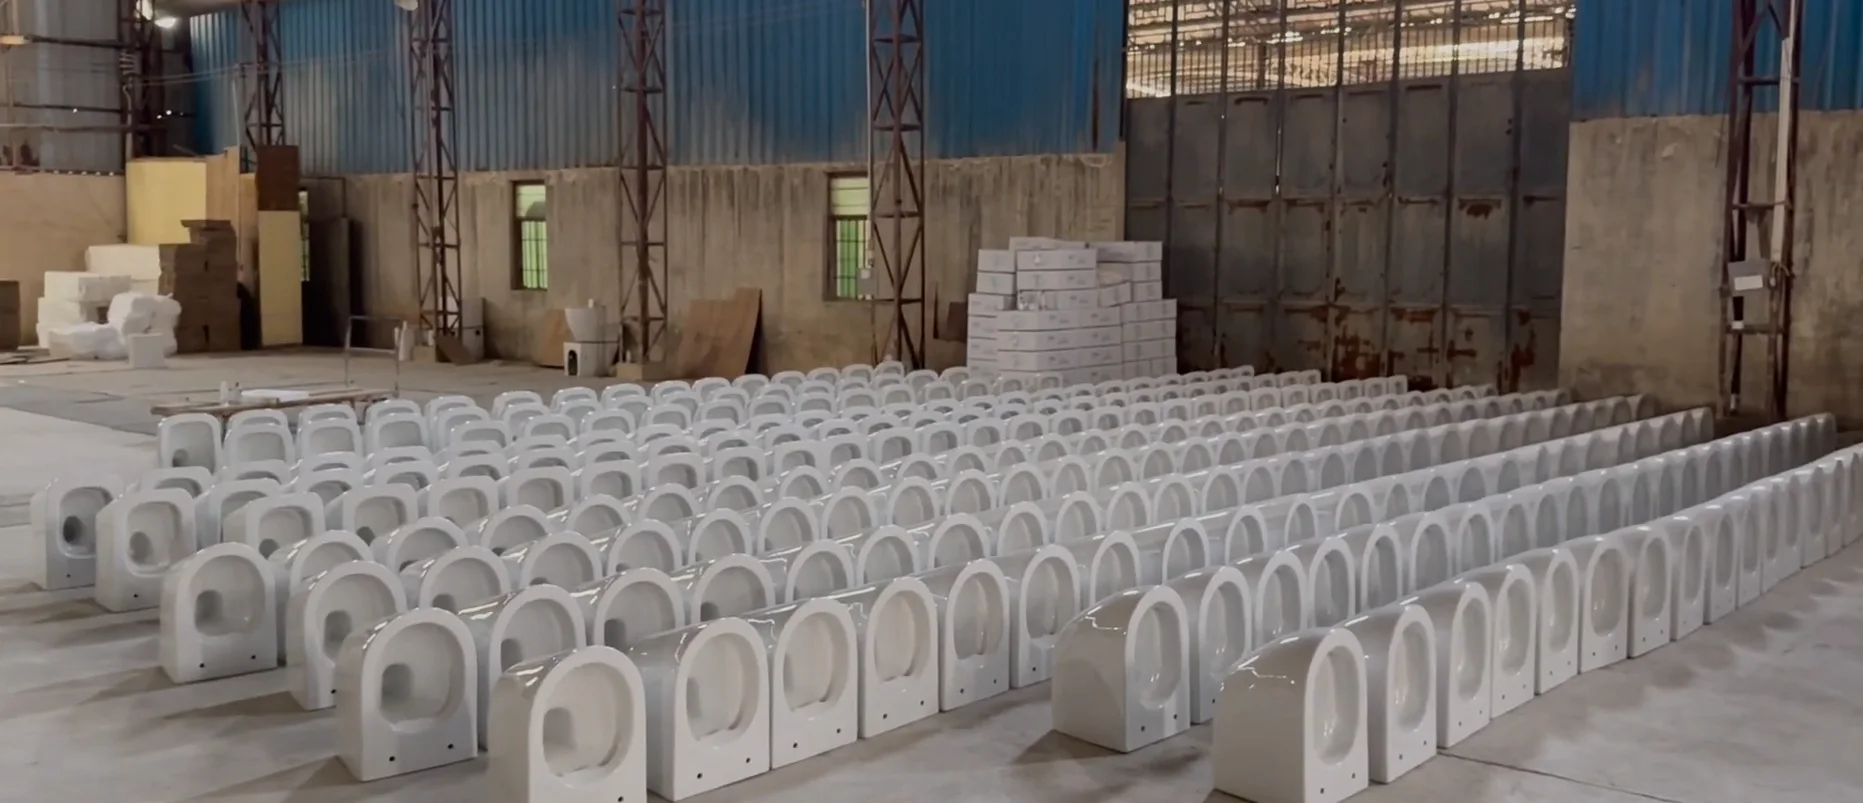
For projects that require multiple wall-mounted toilets, choosing a reliable supplier is just as important as the installation itself. A professional wall-mounted toilet manufacturer should be able to provide consistent ceramic quality, compatible installation systems, stable flushing performance, and clear technical specifications.
When evaluating a supplier, consider factors such as ceramic quality, flushing performance, water efficiency, mounting compatibility, spare parts availability, packaging, and production capacity. These factors can have a significant impact on installation efficiency and long-term product performance.
Uma fonte fiável wall-mounted toilet manufacturer can also provide installation drawings, product specifications, and technical support, making it easier for contractors and distributors to complete projects correctly.
Conclusão
Installing a wall-mounted toilet requires careful preparation and accurate installation. The most important steps include positioning the carrier frame, connecting the concealed cistern and drainage system, securely fixing the frame, installing the toilet bowl, and thoroughly testing the system before closing the wall.
When every connection is correctly installed and the frame is securely fixed, a wall-mounted toilet can provide a clean appearance, easier floor cleaning, and reliable long-term performance. Always follow the specific installation instructions supplied with your toilet and carrier system for the best results.
About South Villa – Wholesale Toilets & Wall-Mounted Toilet Manufacturer
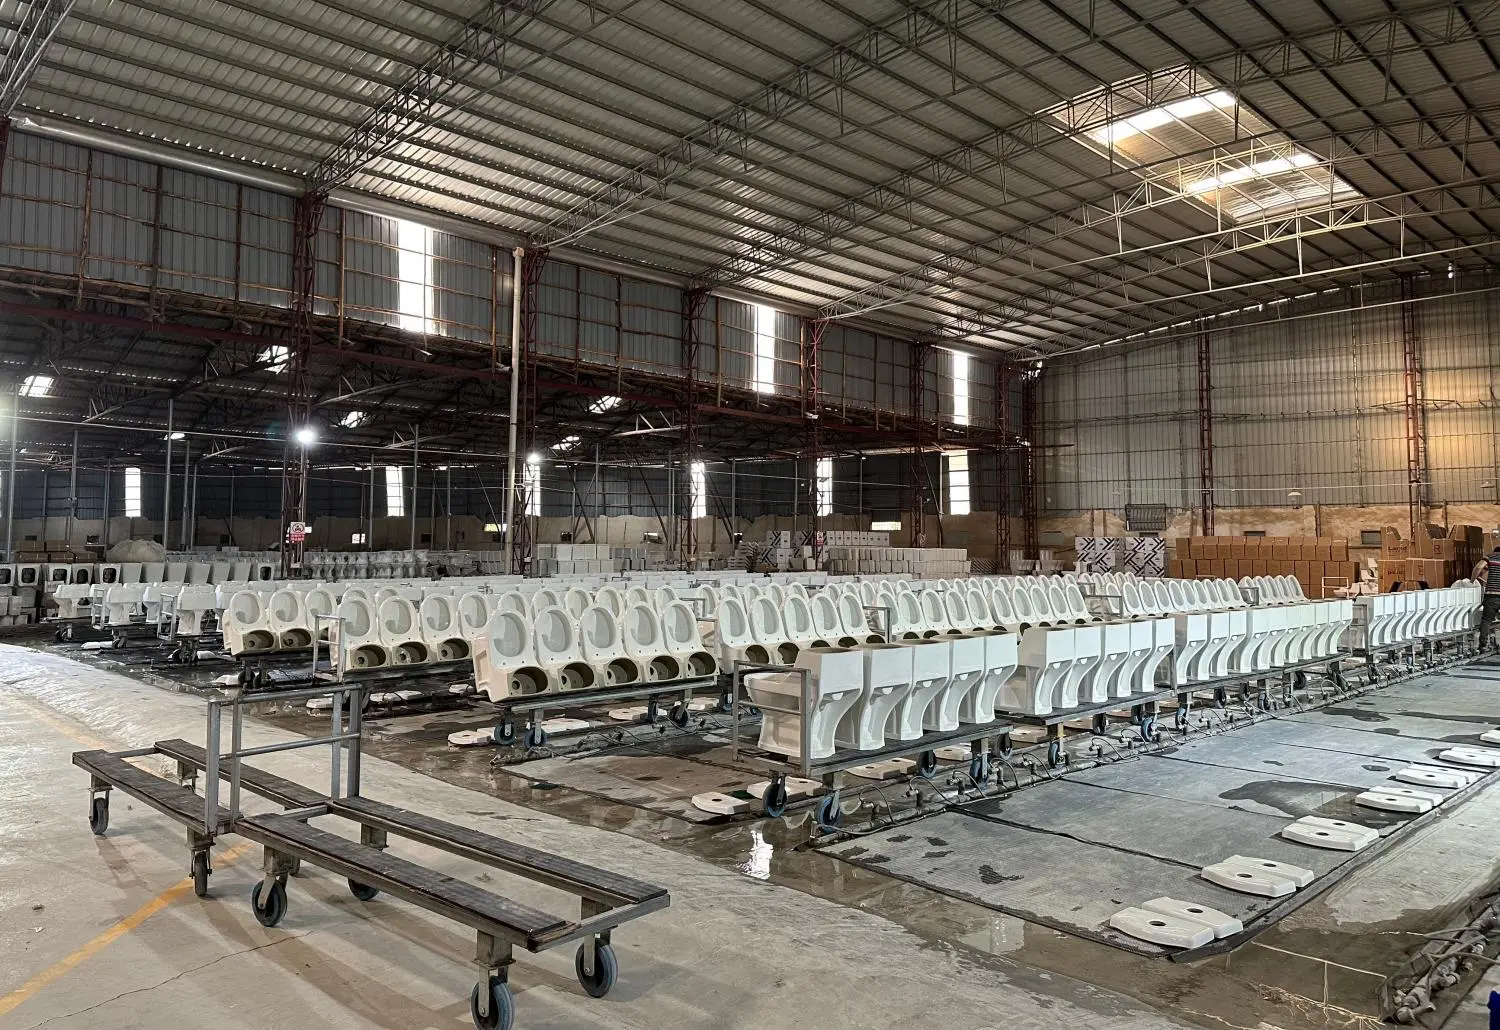
South Villa é um professional toilet manufacturer in China, offering sanitas por grosso for distributors, wholesalers, retailers, contractors, and residential and commercial projects.
Our product range covers one-piece toilets, two-piece toilets, wall-hung toilets, floor-mounted toilets, and smart toilets, providing flexible solutions for different bathroom applications.
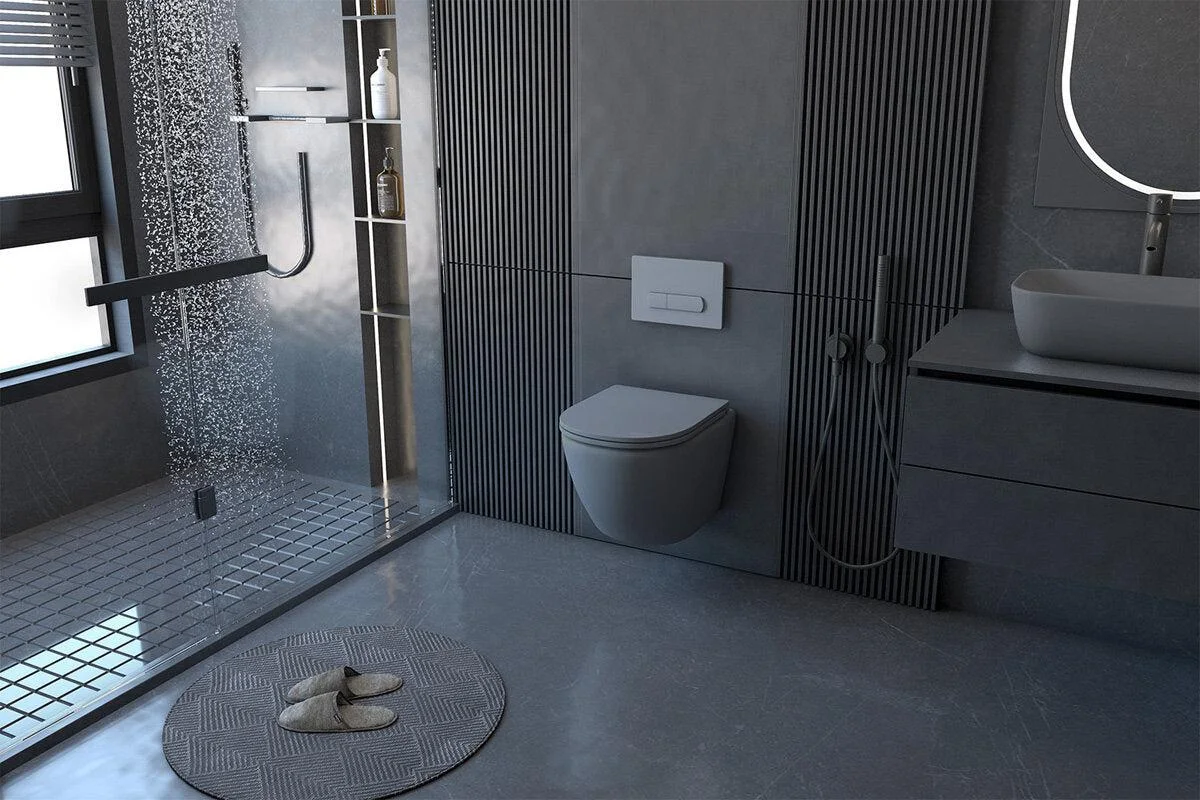
For buyers looking specifically for wholesale wall-mounted toilets, South Villa provides modern wall-hung toilet designs with concealed installation systems, reliable flushing performance, and durable ceramic construction. Our products are developed for international markets, with a focus on practical installation, water efficiency, consistent quality, and long-term performance.
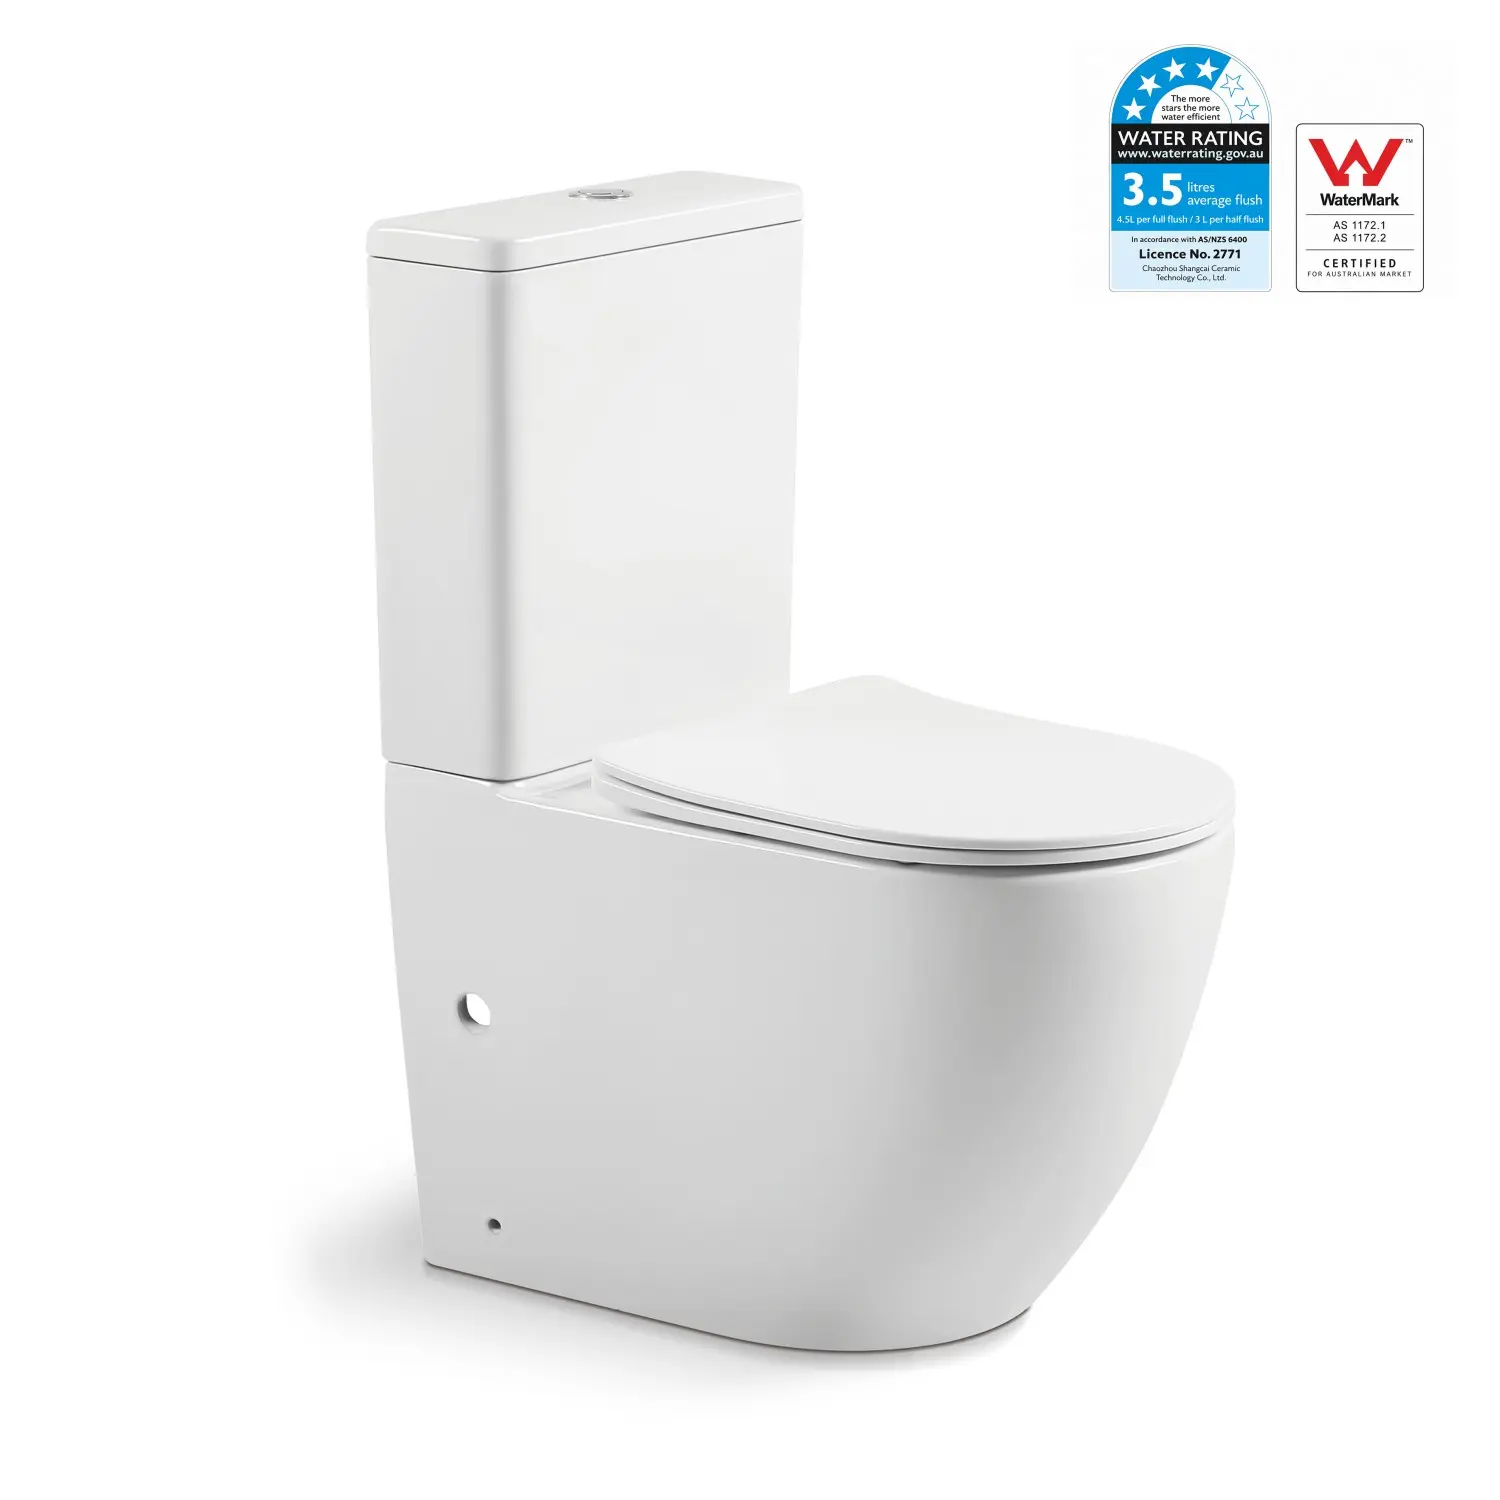
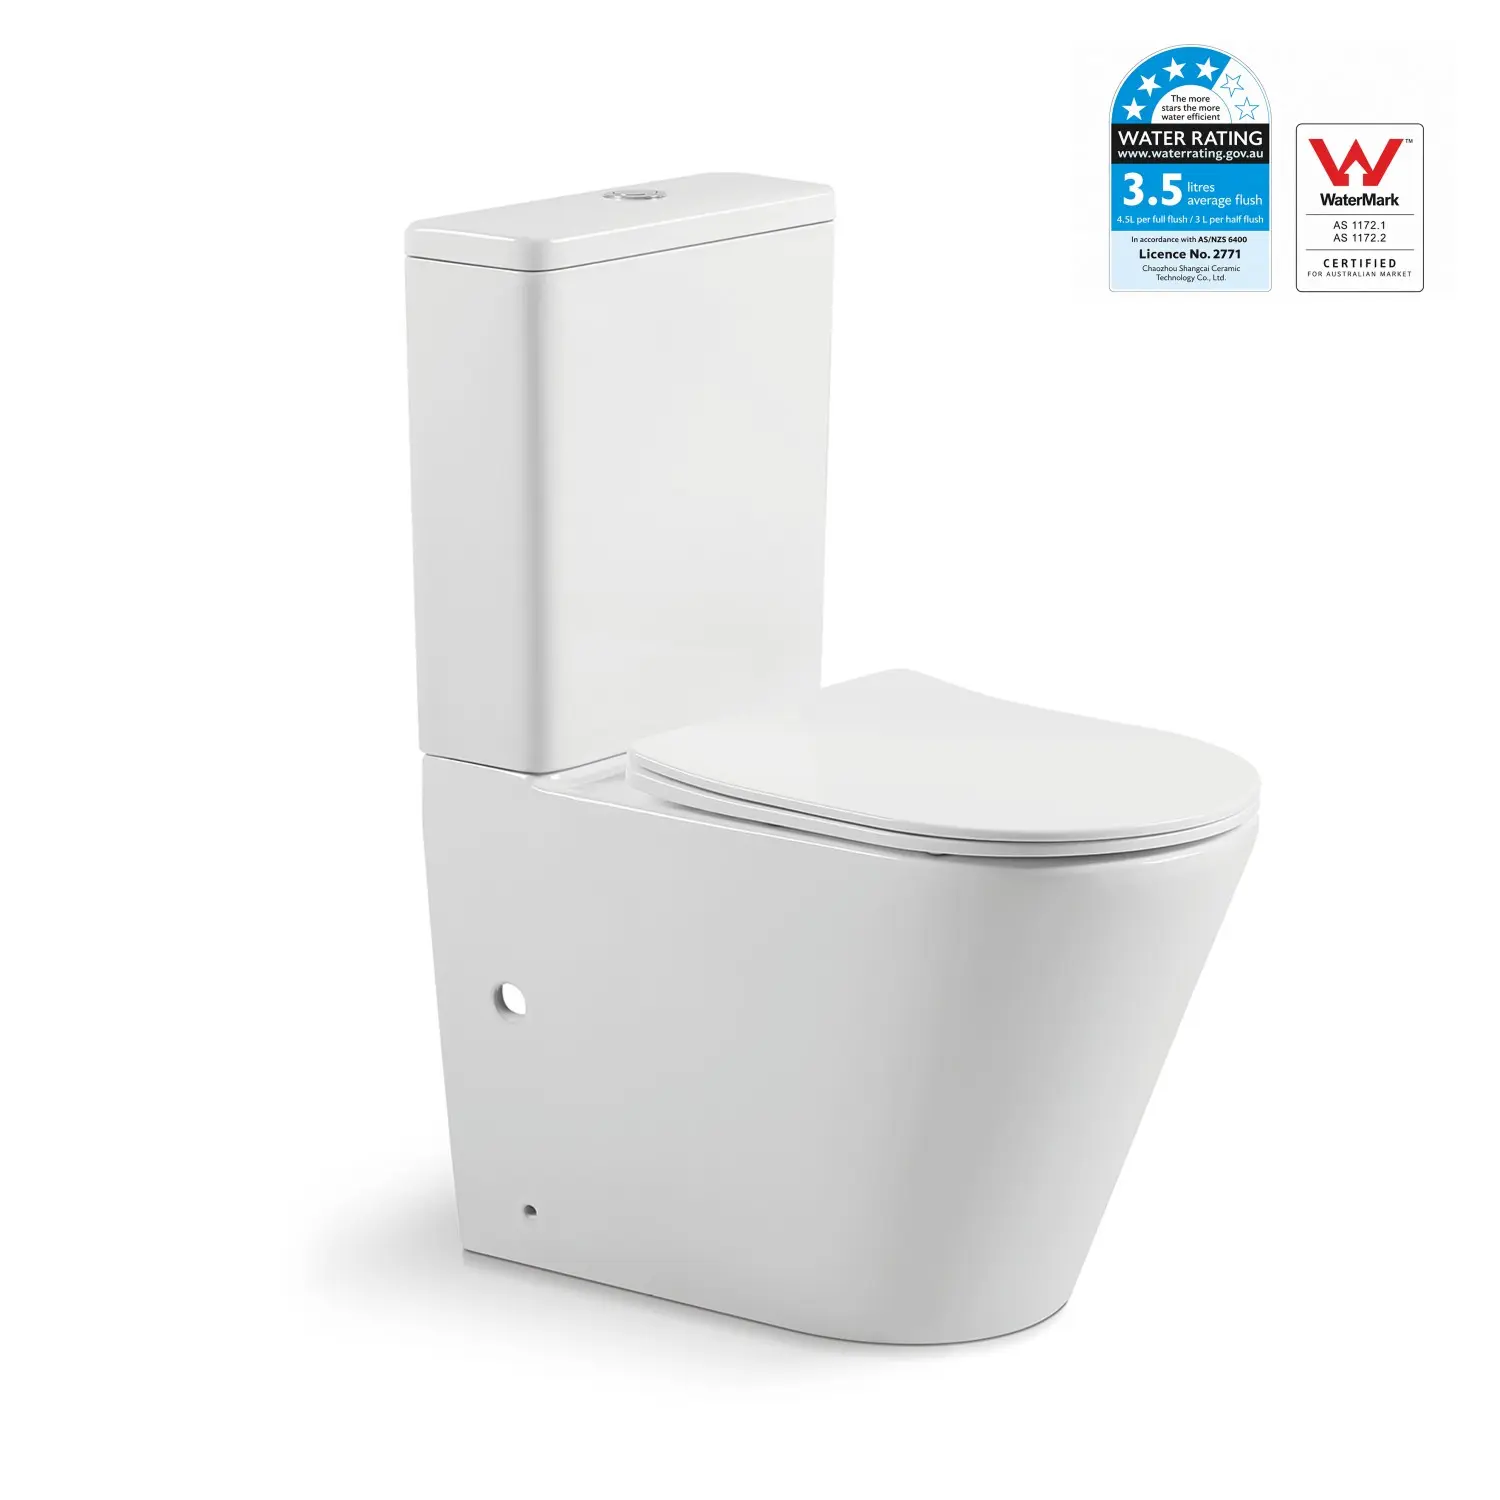
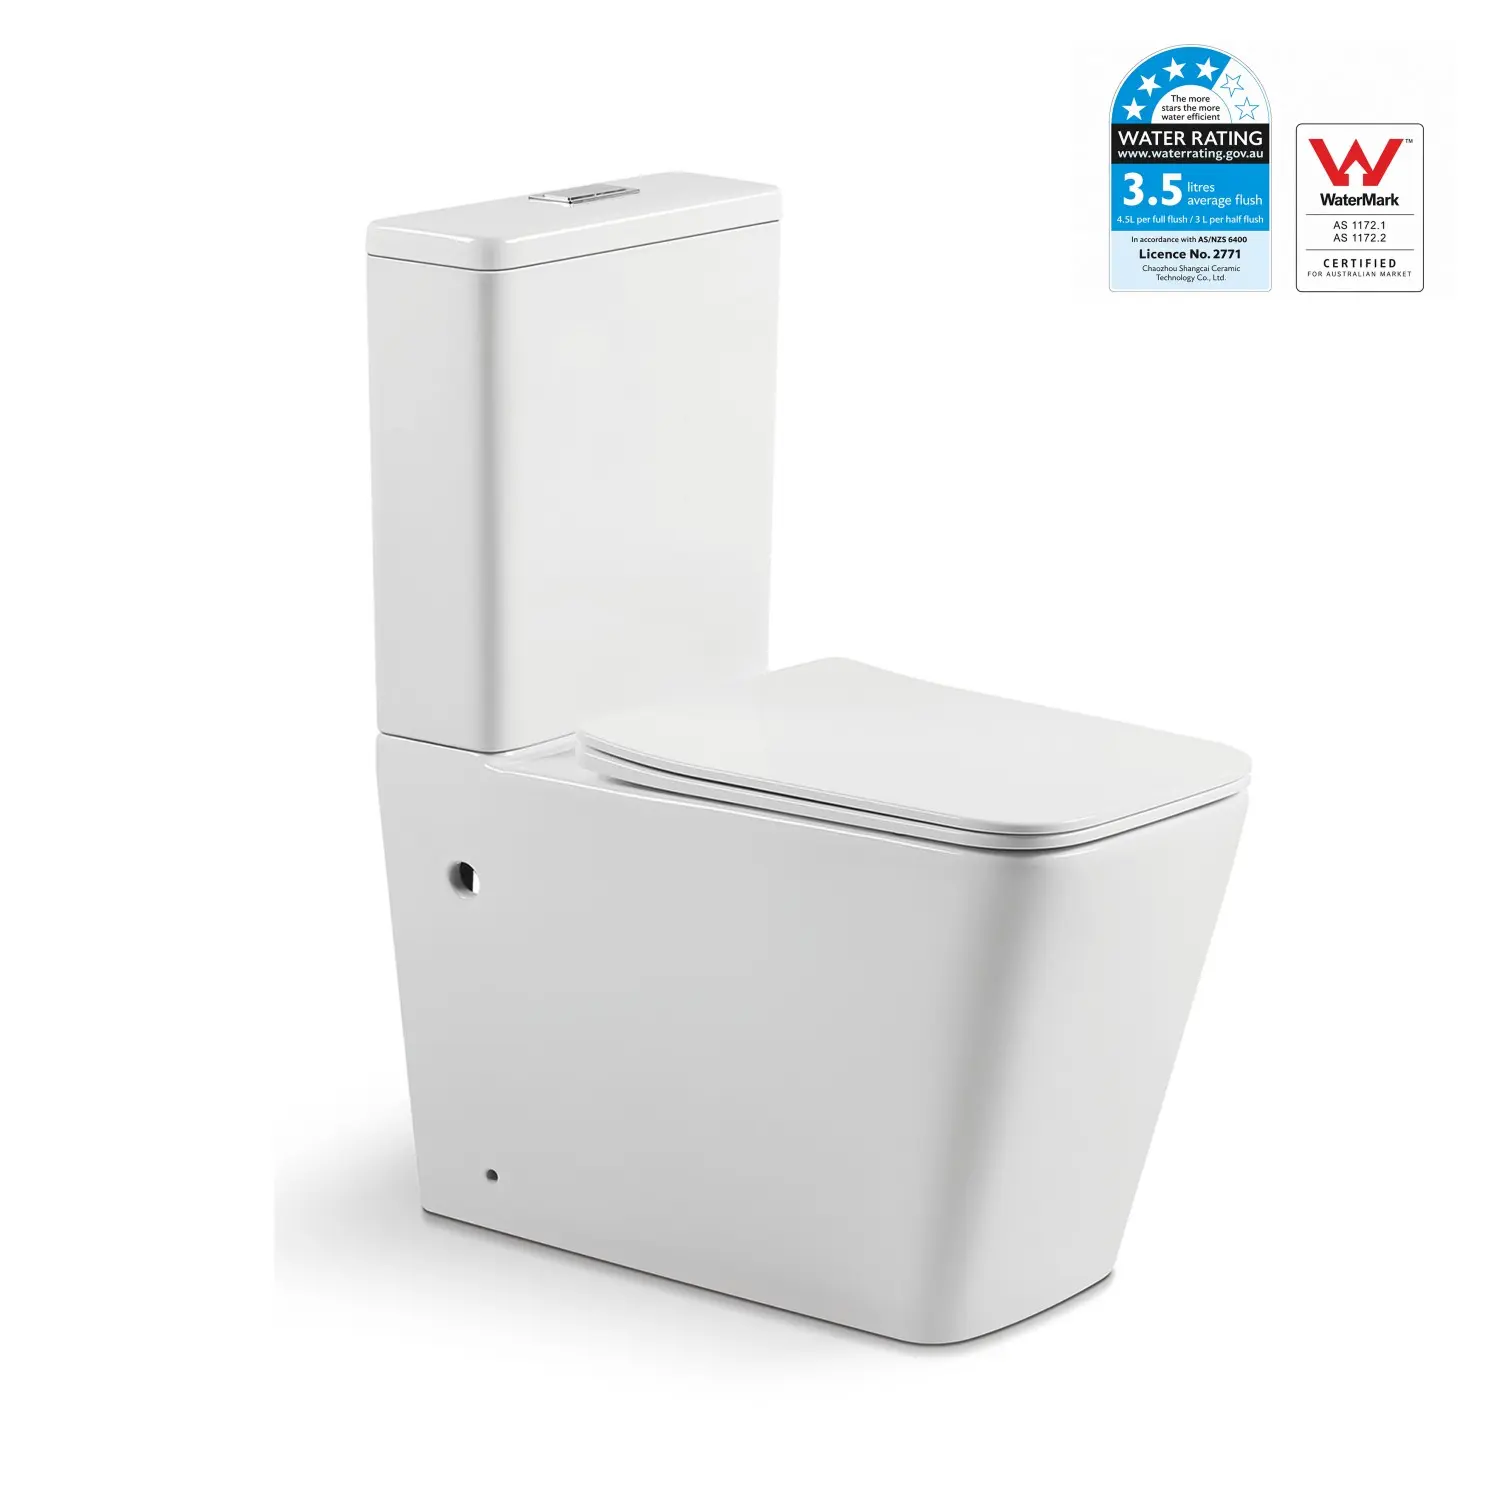
With certifications and compliance including CE, ISO, SASO, and WaterMark, our sanitary ware is designed to meet stringent international quality, safety, and water efficiency requirements, providing reliable solutions for residential, commercial, and large-scale construction projects.